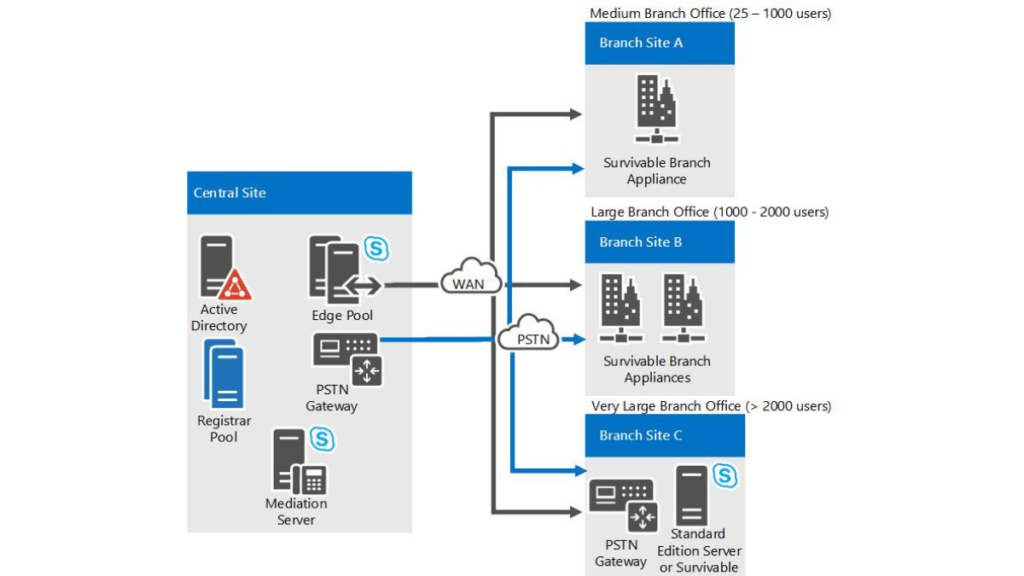
Creating and enabling users for enterprise voice in Skype for Business Server environment is an important step in enabling users to make and receive calls. Enterprise voice allows users to make and receive calls using Skype for Business, replacing traditional phone systems. In this article, we’ll walk you through the process of creating and enabling users for enterprise voice in Skype for Business Server environment.
Table of Contents
Creating a User Account The first step is to create a user account in Active Directory for the user you want to enable for enterprise voice:
- Open Active Directory Users and Computers.
- Right-click the folder where you want to create the user account, and select New > User.
- Enter the user’s first name, last name, and logon name.
- Set a password for the user and select the option to require the user to change the password at first logon.
- Click Next and then Finish to create the user account.

Enabling the User for Enterprise Voice Once you’ve created the user account, you need to enable the user for enterprise voice:
- Open Skype for Business Server Management Shell.
- Type the following command and press Enter: Enable-CsUser -Identity “user@domain.com” -EnterpriseVoiceEnabled $true
- Replace “user@domain.com” with the email address of the user you want to enable for enterprise voice.
- Press Enter to execute the command.
Assigning a Phone Number to the User After enabling the user for enterprise voice, you need to assign a phone number to the user:
- Open Skype for Business Server Control Panel.
- Click on Voice Routing and then click on the Configure button next to Phone Number.
- Click on the New button to add a new phone number.
- Enter the phone number you want to assign to the user and select the appropriate location and usage information.
- Click OK to save the phone number.
Assigning a Dial Plan to the User Finally, you need to assign a dial plan to the user. A dial plan defines how phone numbers are formatted and how calls are routed:
- Open Skype for Business Server Control Panel.
- Click on Voice Routing and then click on the Configure button next to Dial Plan.
- Click on the New button to add a new dial plan.
- Enter the name and description of the dial plan, and select the appropriate options for number normalization and call routing.
- Click OK to save the dial plan.
That’s it! You’ve now created and enabled a user for EV in Skype for Business Server environment. The user can now make and receive calls using Skype for Business. If you have any questions or encounter any issues during this process, consult the Skype for Business Server documentation or seek assistance from your IT department.
Frequently asked questions
Can I assign multiple phone numbers to a user?
Yes, you can assign multiple phone numbers to a user by repeating the steps for assigning a phone number to the user.
Can I assign different dial plans to different users?
Yes, you can assign different dial plans to different users based on their location or organizational unit.
Can I enable EV for multiple users at once?
Yes, you can enable EV for multiple users using the Enable-CsUser cmdlet in Skype for Business Server Management Shell.
Do I need any special hardware to enable EV for users?
No, you don’t need any special hardware to enable EV for users. Users can make and receive calls using their computer’s speakers and microphone or a headset.
Don’t forget to support us by following us on Google News or Returning to the home page TopicsTalk
Join Telegram and WhatsApp for More updates
Follow us on social media


