Set Up ECP: As an Exchange Server administrator, you know the importance of configuring Exchange Control Panel (ECP) to manage user mailboxes and other Exchange Server settings. ECP is a web-based interface that allows you to perform a variety of tasks, including managing user mailboxes, creating distribution groups, and managing message tracking. In this article, we will guide you through the process of setting up ECP in Exchange Server, step-by-step.

Table of Contents
Introduction to Set Up ECP
Exchange Control Panel (ECP) is a web-based management interface in Exchange Server that allows administrators to manage various tasks related to Exchange Server, such as managing user mailboxes, creating distribution groups, and managing message tracking. It is essential for an Exchange Server administrator to know how to set up ECP to perform these tasks efficiently.
Pre-requisites for Setting up ECP
Before you begin the process of setting up ECP, there are some pre-requisites that you need to have in place:
- Exchange Server installation
You must have Exchange Server installed and running on your system. If you haven’t installed Exchange Server yet, follow the instructions provided by Microsoft. - Administrative credentials
You need to have administrative credentials to access the Exchange Server system. - Web server role
You must have the web server role installed on the system where you want to set up ECP. - SSL certificate
To secure the ECP connection, you need to have an SSL certificate installed on the web server.
Installing the ECP Virtual Directory
The first step in setting up ECP is to install the ECP virtual directory. Follow these steps:
Open the Exchange Management Shell (EMS).
Type the following command: New-EcpVirtualDirectory -Server -WebSiteName
Replace with the name of the Exchange Server and with the name of the website where you want to install ECP.
Press Enter to execute the command.
Configuring Authentication Settings for the ECP Virtual Directory
The next step is to configure the authentication settings for the ECP virtual directory. Follow these steps:Open the Internet Information Services (IIS) Manager.
Navigate to the ECP virtual directory and select it.
Click on the Authentication option.
Make sure that only the following options are enabled: Anonymous Authentication and Windows Authentication.
Click on OK to save the changes.
Testing the ECP Virtual Directory
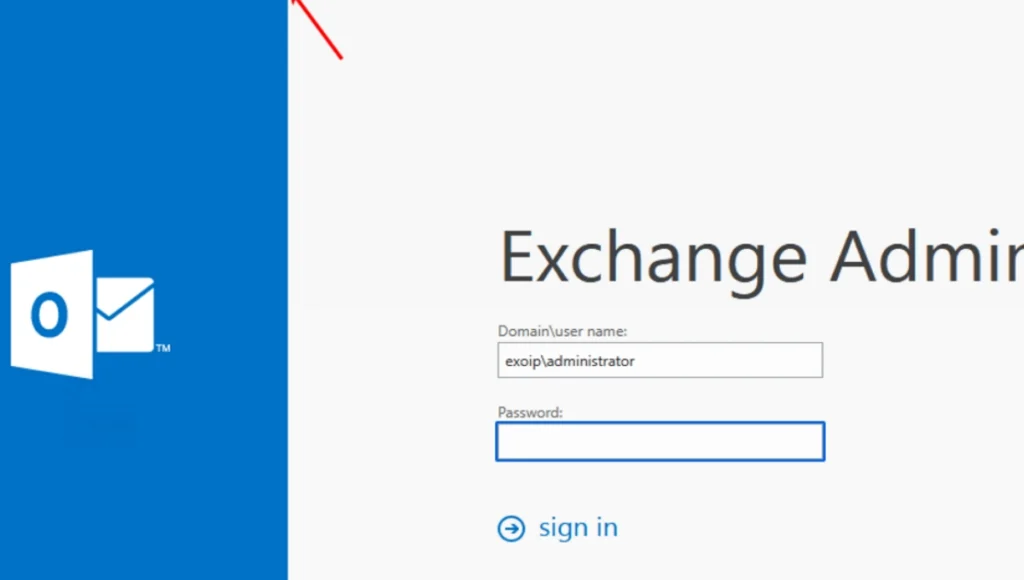
After you have installed and configured the ECP virtual directory, you need to test it to make sure that it is working correctly. Follow these steps:Open a web browser.
Type the following URL in the address bar: https:///ecp.
Replace with the name of the Exchange Server.
Press Enter to access the ECP login page.
Enter your administrative credentials to log in to ECP.
If you can log in successfully, it means that ECP is working correctly.
Configuring the Exchange Server for ECP Access
The next step is to configure the Exchange Server for ECP access
Open the Exchange Management Shell (EMS).
Type the following command: Set-ecpVirtualDirectory -Identity “ecp (default web site)” -ExternalUrl https:///ecp -ExchangeVersion
Replace with the name of the Exchange Server and with the version of Exchange Server installed.
Press Enter to execute the command.
Enabling SSL for ECP
To secure the ECP connection, you need to enable SSL for ECP. Follow these steps:Open the Exchange Management Shell (EMS).
Type the following command: Set-EcpVirtualDirectory -Identity “ecp (default web site)” -ExternalUrl https:///ecp -InternalUrl https:///ecp -ExternalAuthenticationMethods Basic,OAuth -InternalAuthenticationMethods Basic,OAuth
Replace with the name of the Exchange Server.
Press Enter to execute the command.
Troubleshooting ECP Access Issues
If you encounter any issues while accessing ECP, here are some troubleshooting tips:Check if the ECP virtual directory is installed and configured correctly.
Check if the web server role is installed and configured correctly.
Check if the SSL certificate is installed and configured correctly.
Check if the authentication settings are configured correctly.
Best Practices for Managing ECP
Here are some best practices for managing ECP:Regularly monitor ECP logs to detect any issues.
Restrict access to ECP to only authorized users.
Regularly update Exchange Server to the latest version to ensure security and stability.
Conclusion
Set Up ECP in Exchange Server is essential for Exchange Server administrators to manage user mailboxes and other Exchange Server settings. By following the steps outlined in this article, you can set up ECP in Exchange Server efficiently.
Frequently Asked Questions
What is ECP in Exchange Server?
ECP is a web-based interface in Exchange Server that allows administrators to manage various tasks related to Exchange Server.
Why is ECP essential for Exchange Server administrators?
ECP is essential for Exchange Server administrators to manage user mailboxes and other Exchange Server settings efficiently.
How do I install ECP in Exchange Server?
You can install ECP in Exchange Server by following the steps outlined in this article.
How do I troubleshoot ECP access issues?
You can troubleshoot ECP access issues by following the troubleshooting tips outlined in this article.
What are the best practices for managing ECP?
Some best practices for managing ECP include regularly monitoring ECP logs, restricting access to ECP to only authorized users, and regularly updating Exchange Server to the latest version.
Don’t forget to support us by following us on Google News or Returning to the home page TopicsTalk
Join Telegram and WhatsApp for More updates
Follow us on social media
